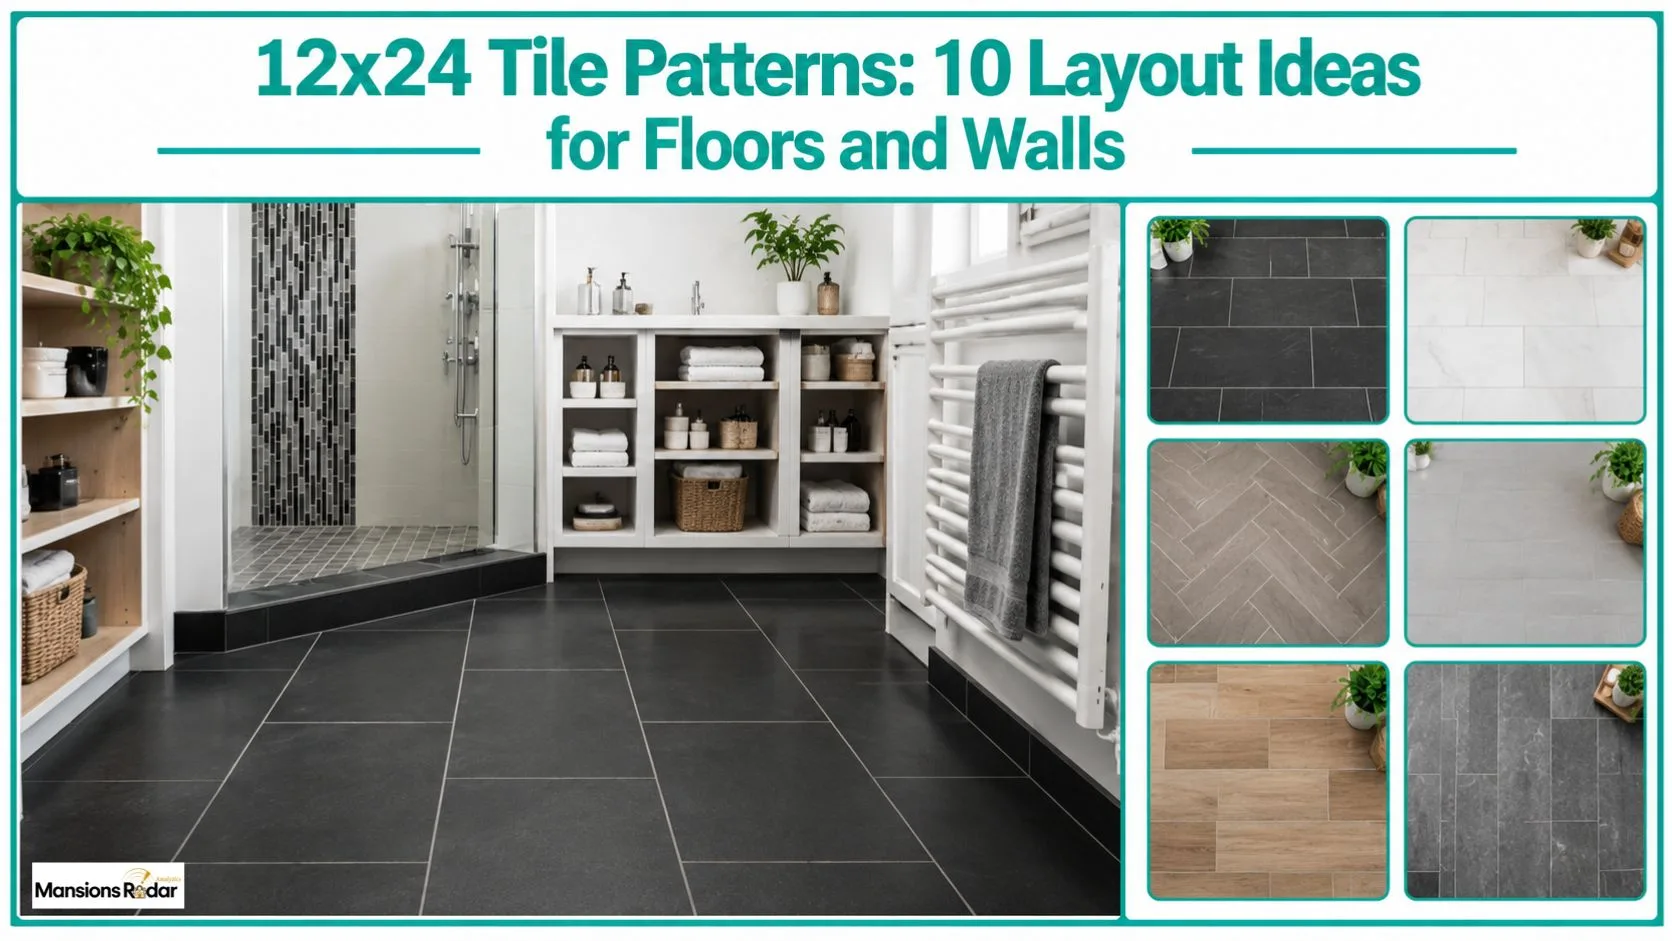
12×24 tile patterns offer versatile options for bathroom floors, shower walls, kitchen backsplashes, and other surfaces. From a classic straight lay to an eye-catching herringbone design, each layout creates a different look and affects tile cuts, material waste, and installation costs.
This guide explores 10 popular 12×24 tile layouts, explains where each pattern works best, and covers tile placement, offset guidelines, installation planning, and common mistakes. Use these ideas to choose a pattern that suits your space, design style, and budget.
What Is a 12×24 Tile, and Where Can You Use It?
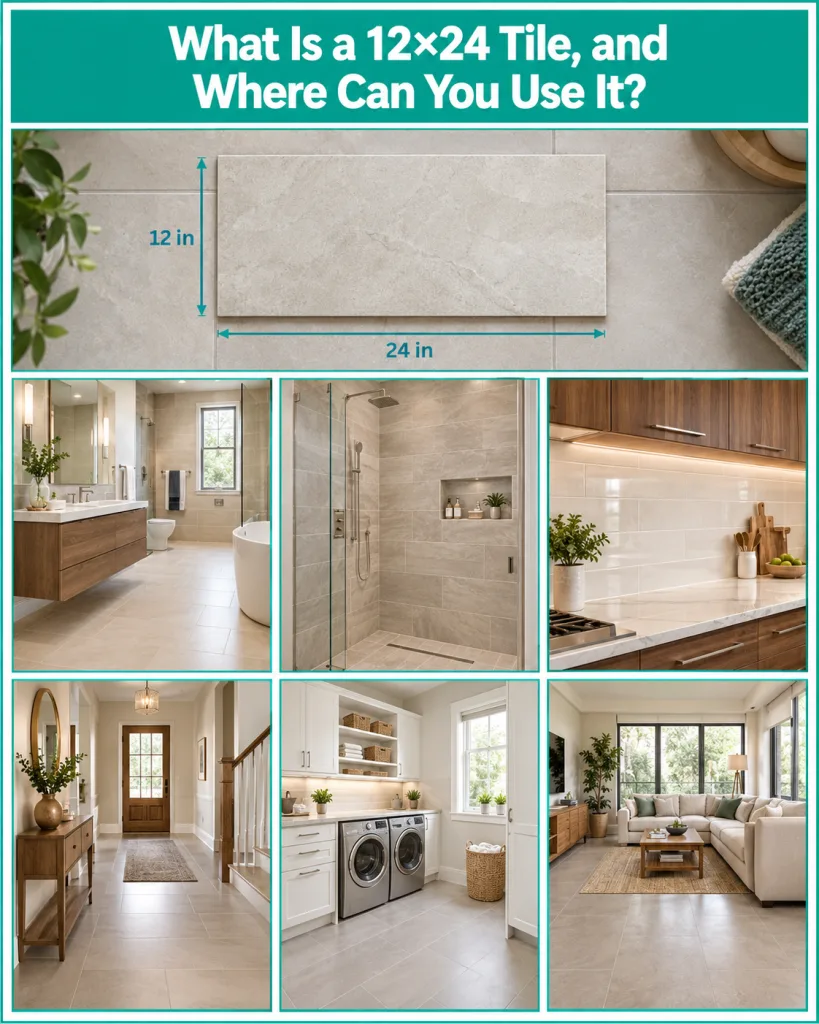
A 12×24 tile is a rectangular tile with nominal dimensions of 12 inches by 24 inches. Actual measurements may vary by product, so check the manufacturer’s specifications before planning your layout.
This versatile tile size works well in several areas of the home, including:
- Bathroom floors and walls: Create a clean, coordinated look.
- Shower walls: Use rectangular tiles to create a streamlined finish.
- Kitchen backsplashes: Add a modern look behind countertops.
- Entryways and hallways: Create a spacious visual effect with a suitable layout.
- Laundry rooms and living areas: Choose a tile that suits the room’s design and daily use.
Tile suitability depends on its material, finish, slip resistance, and installation needs. For shower floors, smaller tiles often work better with the slope toward the drain.
10 Popular 12×24 Tile Patterns for Your Home
12×24 tiles bring style and versatility to bathroom floors, kitchen backsplashes, and modern walls. From straight grids to herringbone designs, these ten popular tile patterns help you choose a layout that suits your space, style, and installation needs.
1. Straight Lay 12×24 Tile Pattern
Align each tile in straight rows and columns to create a clean, uniform grid. This simple layout works well on bathroom floors, kitchen floors, and contemporary walls.
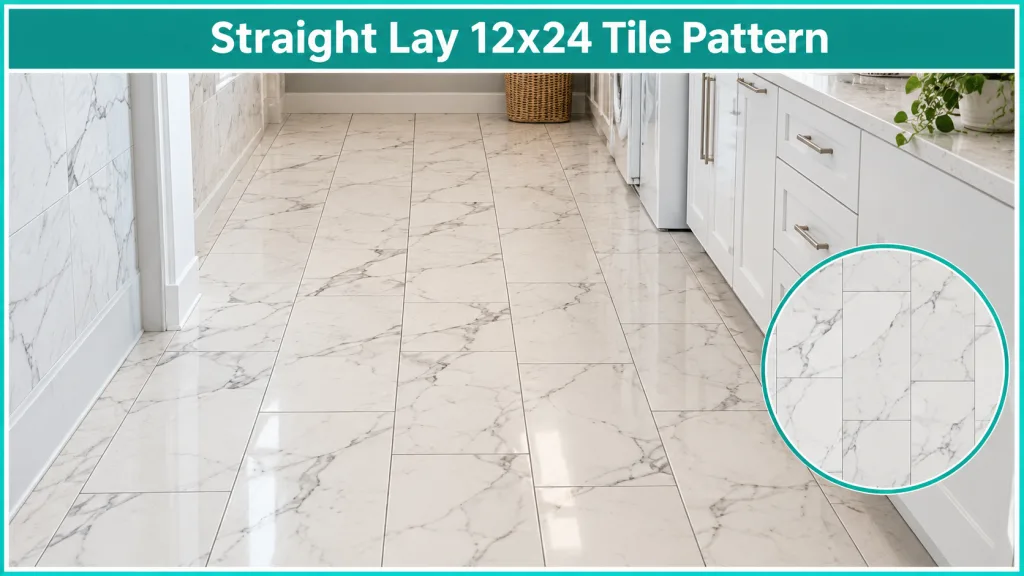
Matching grout colors can create a seamless appearance, while contrasting grout highlights the tile arrangement.
2. One-Third Offset Tile Pattern
Shift each row by approximately one-third of the tile’s length, or 8 inches along the 24-inch side. This staggered layout creates movement without making the surface look too busy.
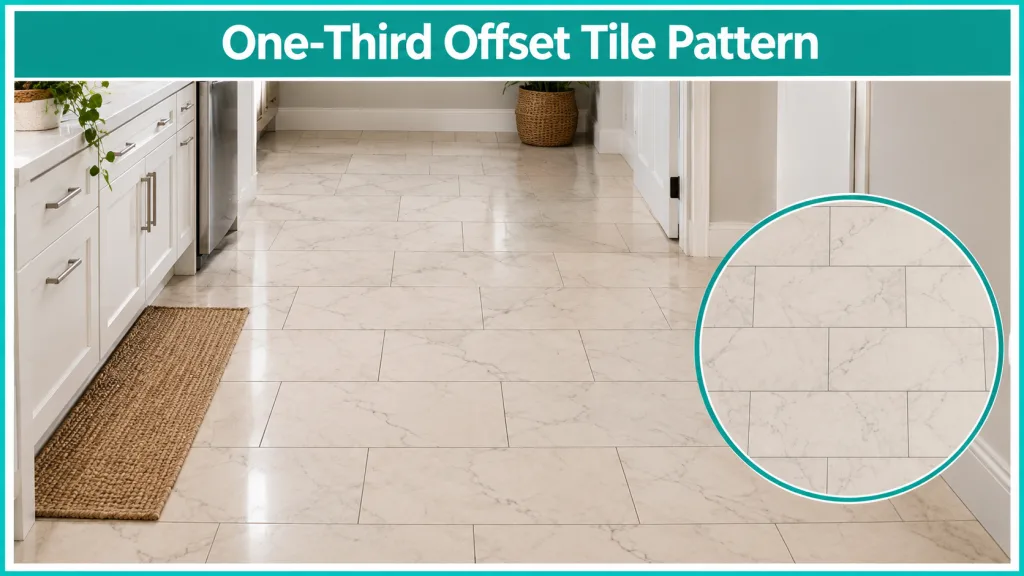
Check the tile manufacturer’s recommendations and applicable installation standards before choosing the offset.
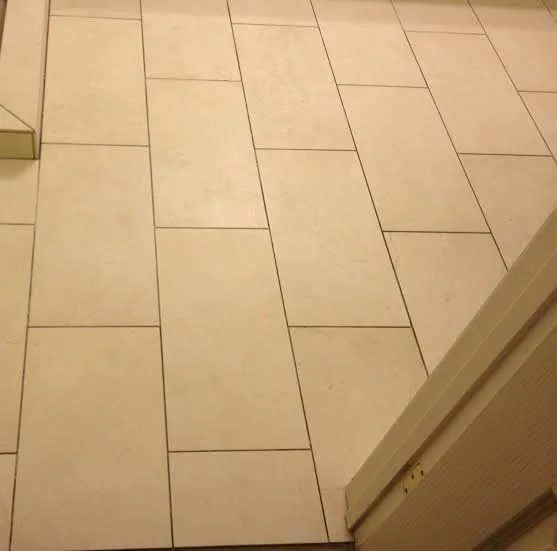
3. Half-Offset or Brick Pattern
Position the center of each tile over the joint in the row below to create a traditional brickwork effect. However, some long rectangular tiles have a slight bow, which can cause uneven edges with a 50% offset. Follow the manufacturer’s guidance and use a smaller stagger when required.
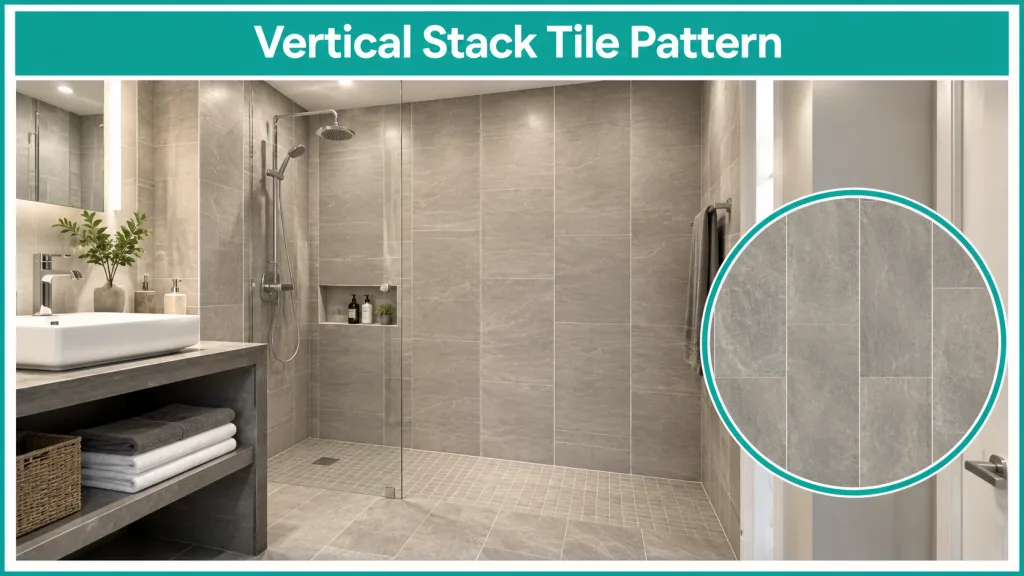
4. Vertical Stack Tile Pattern
Rotate the tiles so their 24-inch sides run vertically, then align the joints in straight columns. This arrangement emphasizes height and creates a sleek look on shower walls, bathroom walls, and decorative feature surfaces. Keep grout spacing consistent for a polished finish.
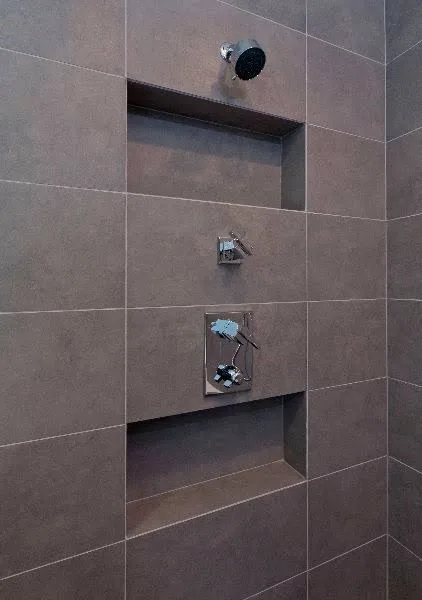
5. Horizontal Stack Tile Pattern
Place the 24-inch sides horizontally and align the joints across each row. This layout creates strong horizontal lines and a balanced appearance. Use it for kitchen backsplashes, bathroom walls, or modern shower surrounds.
6. Diagonal 12×24 Tile Pattern
Rotate the tiles diagonally to create a dynamic floor or wall design. This arrangement can draw attention to the tile surface and add visual interest to entryways and bathrooms.
Plan the cuts around walls, corners, and doorways because diagonal layouts usually require more cutting and may produce additional waste.
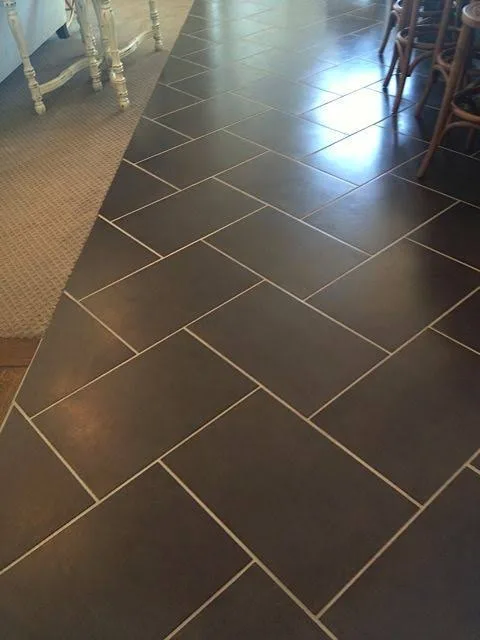
7. Herringbone Tile Pattern
Arrange the rectangular tiles in a repeating zigzag to create the distinctive herringbone design. This pattern adds detail to bathroom floors, entryways, kitchen backsplashes, and feature walls.
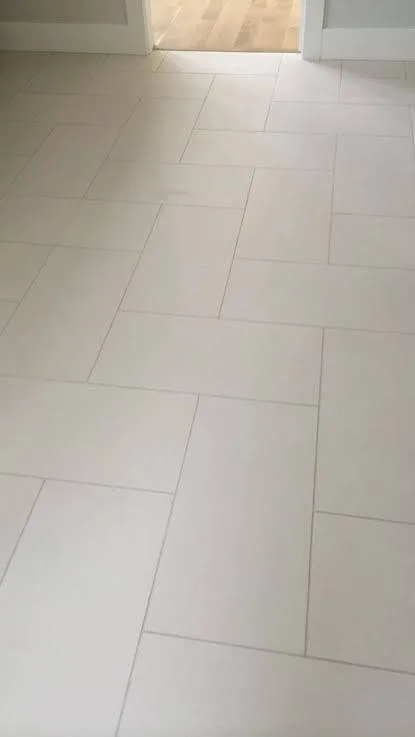
Accurate measurements and careful alignment help maintain consistent joints throughout the installation.
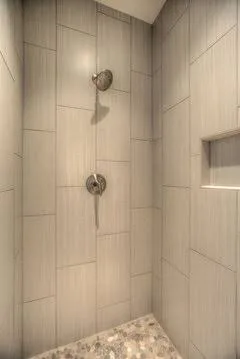
8. Vertical Offset Tile Pattern
Install the tiles with their long sides running vertically, then stagger the joints between rows. This layout combines the height-enhancing effect of vertical placement with a more relaxed appearance than a straight stack. Confirm the recommended offset for your specific tile before installation.
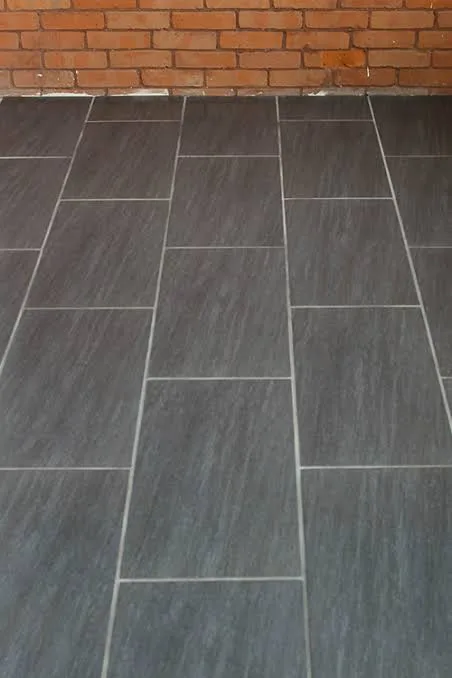
9. Quarter-Offset Tile Pattern
Move each row by approximately one-quarter of the tile’s length, or 6 inches along the 24-inch side. The smaller stagger creates a subtle variation while maintaining an orderly appearance. This layout can suit contemporary bathrooms, kitchen floors, and understated wall designs.
10. Mixed-Direction Tile Pattern
Combine horizontal and vertical tile placement in planned sections to create a custom design. Use this approach for feature walls, defined floor zones, or decorative transitions.
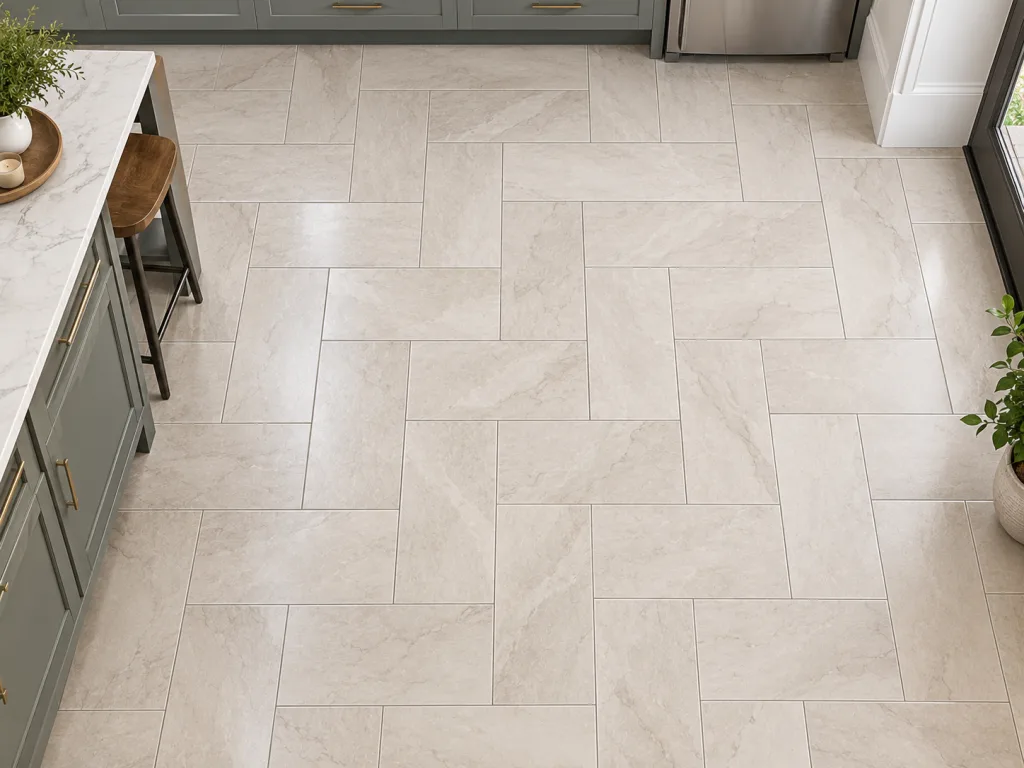
Draw the layout before installation to coordinate grout joints, edge cuts, and changes in direction.
Why Offset Matters for 12×24 Tile
Large-format 12×24 tiles can have slight surface variations that cause tile lippage, where one edge sits higher than the next. A 50% offset can make these differences more noticeable.
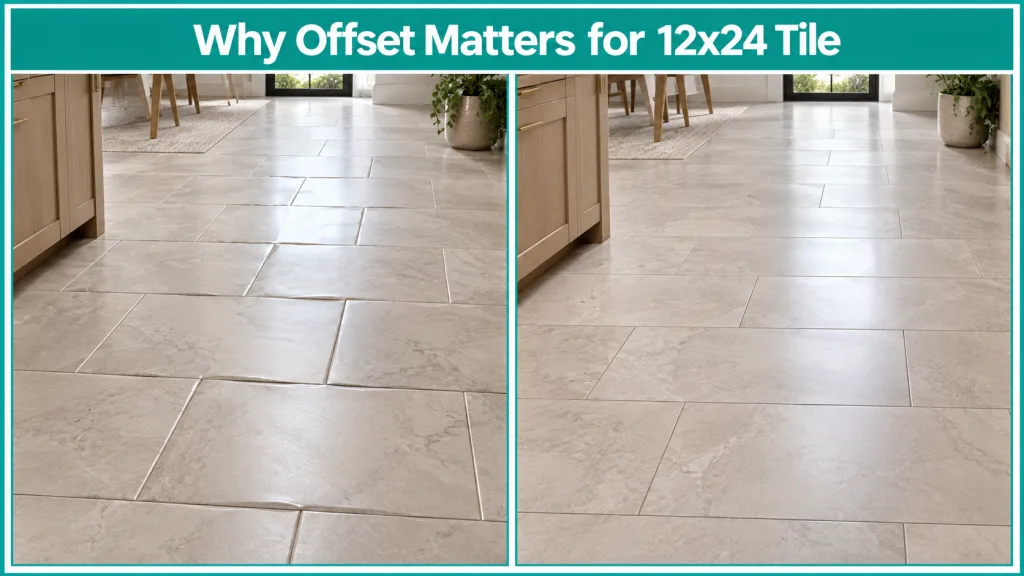
For rectangular tiles longer than 15 inches, industry guidance generally recommends a maximum 33% offset unless the manufacturer advises otherwise.
Follow the recommended tile offset guidelines and check the manufacturer’s installation instructions before laying your tiles.
Best 12×24 Tile Patterns for Each Room
The best 12×24 tile pattern depends on the room, layout, and desired look. Use these options as a starting point and consider drainage, tile offset, and installation requirements before choosing a design.
| Room | Recommended Tile Patterns |
| Bathroom floor | One-third offset or straight lay |
| Shower walls | Vertical stack or horizontal stack |
| Kitchen floor | Straight lay or one-third offset |
| Kitchen backsplash | Horizontal stack or herringbone |
| Entryway | Diagonal or herringbone |
| Laundry room | Straight lay or one-third offset |
| Living area | Straight lay or a suitable staggered layout |
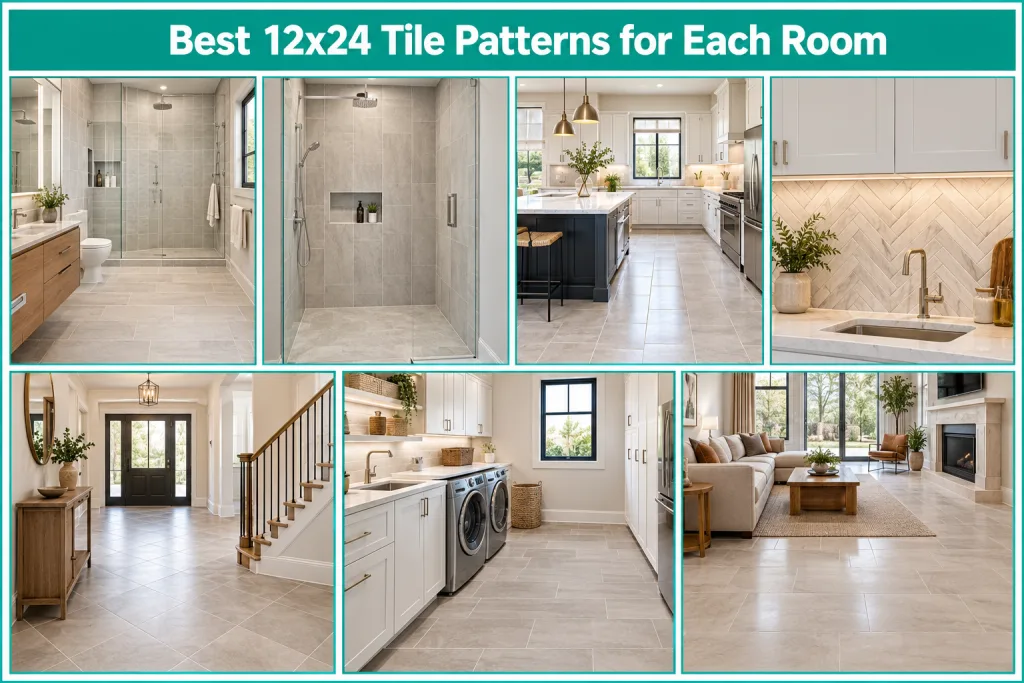
Room dimensions, surface conditions, and installer experience can also influence the final choice. For a compact laundry space, explore these small laundry room ideas for practical ways to use limited space.
Horizontal vs. Vertical 12×24 Tile Layout
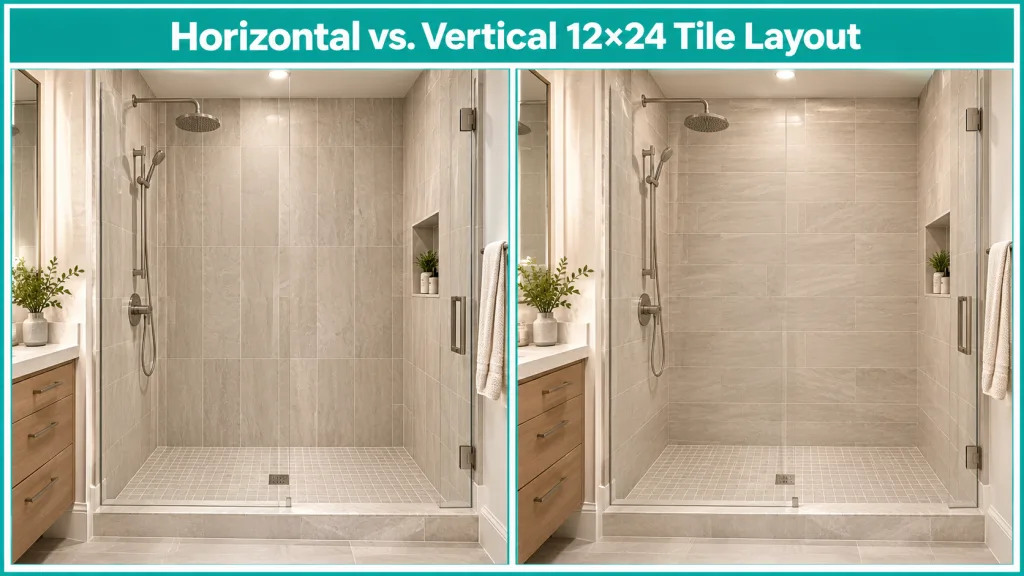
Choose a tile direction that complements your room’s proportions and overall design.
- Vertical layout: Draws the eye upward and can suit narrow shower walls.
- Horizontal layout: Emphasizes width and often works well on wider walls.
- Room proportions: Tile direction alone won’t make a room look larger. Consider lighting, grout lines, and tile color together.
How to Plan a 12×24 Tile Layout
Plan the layout before installation to reduce awkward cuts and improve the finished look.
- Measure the floor or wall accurately.
- Mark reference lines and dry-lay several tiles.
- Check the cuts along opposite edges.
- Plan around doors, cabinets, drains, niches, and fixtures.
- Confirm the grout width and offset recommended by the tile manufacturer.
- Check that the surface is flat enough for large-format tile.
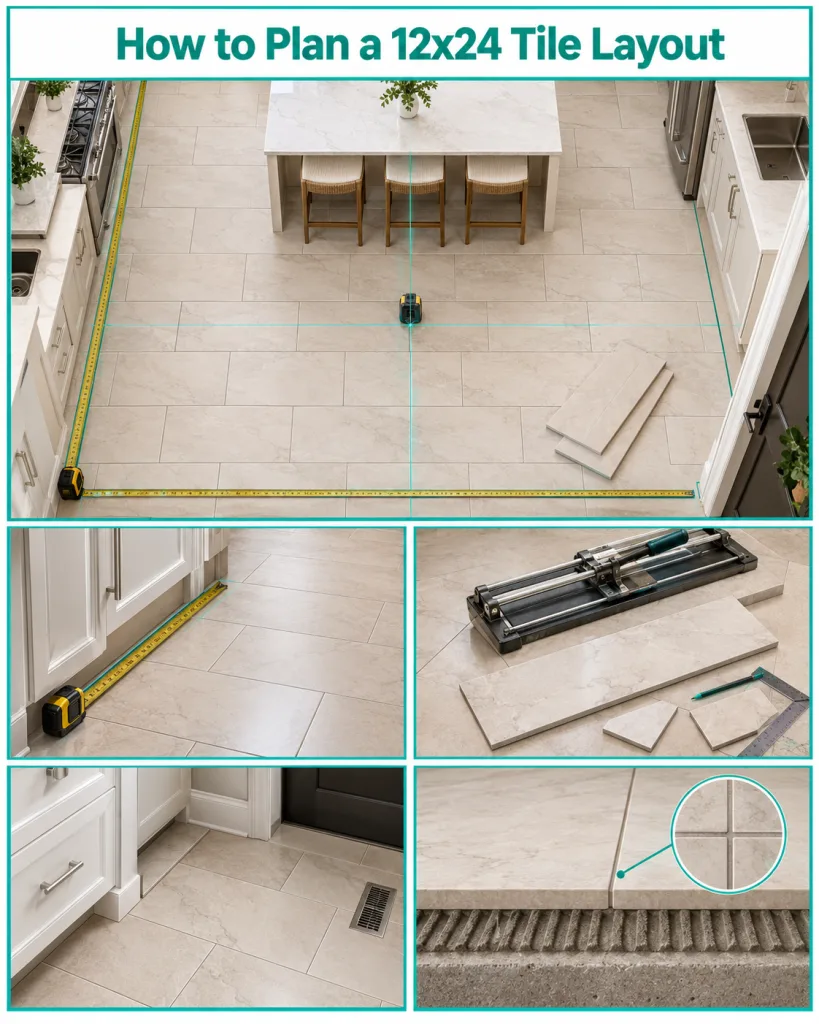
Follow the manufacturer’s instructions for substrate preparation and mortar coverage. If your project includes a kitchen, explore our small kitchen layout ideas to plan the space around cabinets and appliances.
How Much Does 12×24 Tile Installation Cost?
The cost of installing 12×24 tile depends on the material, labor, and floor preparation. Ceramic and porcelain tile installation typically costs around 9–25 per square foot, including materials and labor. Premium porcelain and natural stone can cost more, depending on the project and location.
| Cost Factor | What Affects the Price |
| Tile material | Ceramic, porcelain, or natural stone |
| Labor | Local rates and installer experience |
| Layout pattern | Straight lay, diagonal, or herringbone |
| Surface preparation | Leveling, repairs, or underlayment |
| Installation supplies | Mortar, grout, spacers, and trim |
| Tile removal | Demolition and disposal costs |

Before hiring an installer, compare itemized quotes and confirm what each estimate includes. Complex patterns and uneven subfloors can increase labor and preparation costs.
Common 12×24 Tile Installation Mistakes
Avoid these common mistakes to improve your tile installation and prevent unnecessary costs:
- Using a 50% offset without checking the tile manufacturer’s guidance
- Skipping the dry layout before installation
- Leaving narrow, uneven cuts along visible edges
- Installing tiles over an uneven or poorly prepared surface
- Choosing grout joints that do not match tile specifications
- Ordering too little tile for cuts, waste, and breakage
- Overlooking slip resistance when choosing bathroom or other wet-area floor tiles
Final Thoughts
Choose a 12×24 tile pattern that suits your space and budget. Plan the layout, check the manufacturer’s offset recommendations, and account for cuts before installation. Careful preparation helps create a neat, durable finish.
Frequently Asked Questions
What is the best pattern for 12×24 tile?
Straight lay and one-third offset are popular options. Choose a layout that suits your space and tile specifications.
Should 12×24 tile go horizontally or vertically?
Horizontal placement can emphasize width, while vertical placement can make a wall feel taller. Test both arrangements before installation.
Is a 50% offset suitable for 12×24 tile?
A 50% offset can increase visible lippage. Industry guidance generally favors a maximum 33% offset for long rectangular tiles unless the manufacturer specifies otherwise.
Does 12×24 tile make a small room look bigger?
Large tiles can create a more continuous appearance with fewer grout lines. Tile color, lighting, and layout also affect how spacious a room feels.
Can you use 12×24 tile on shower walls?
Yes. Choose tiles suitable for shower walls and use a properly prepared substrate and compatible waterproofing system.
How much extra tile should I buy?
Allow for cuts, breakage, and future repairs. Your installer can estimate the required amount based on the room and layout.
Is herringbone more expensive to install?
Usually, yes. Herringbone requires more precise alignment and additional cuts, which can increase labor costs.
Which grout color works best with 12×24 tile?
Matching grout creates a seamless look, while contrasting grout highlights the tile pattern. Choose a color that complements the tile and overall design.