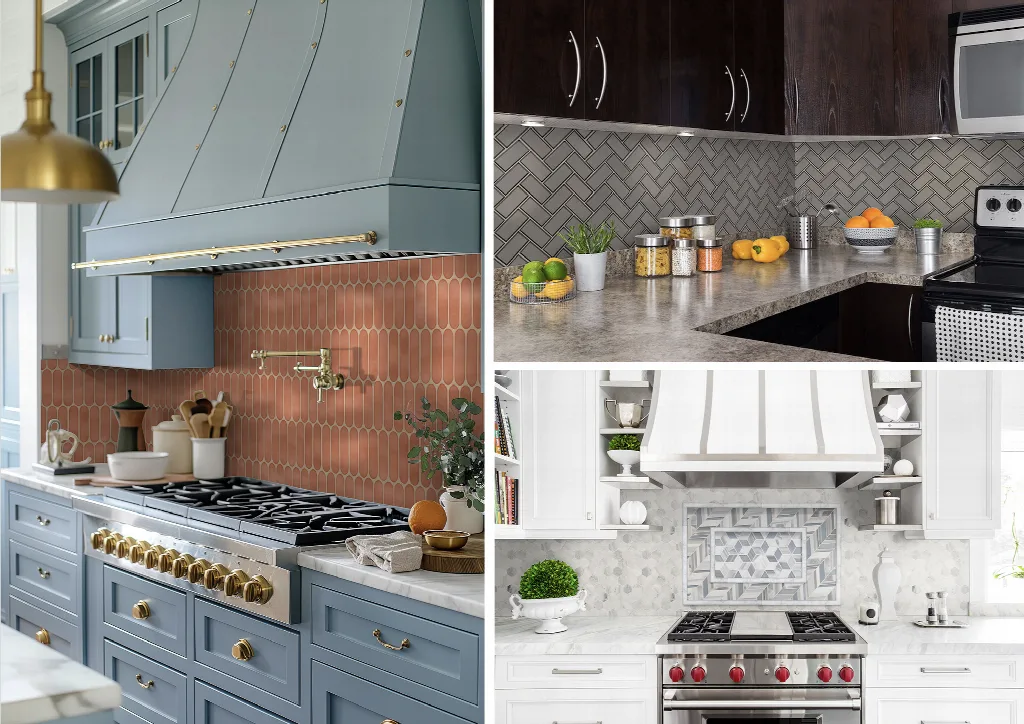
Getting tile edges right comes down to five reliable methods: rail molding — either bullnose or pencil trim — metal edge profiles, caulk, a custom-ground bullnose, or mitered edges and tile returns. Which one makes sense depends on the tile itself, the surface it’s meeting, and whether a matching trim piece even exists for that line.
When there’s no bullnose to match, caulk, mitered edges, and tile returns all deliver a clean finish without needing a separate trim piece at all — each is broken down below, along with guidance for picking the right approach room by room.
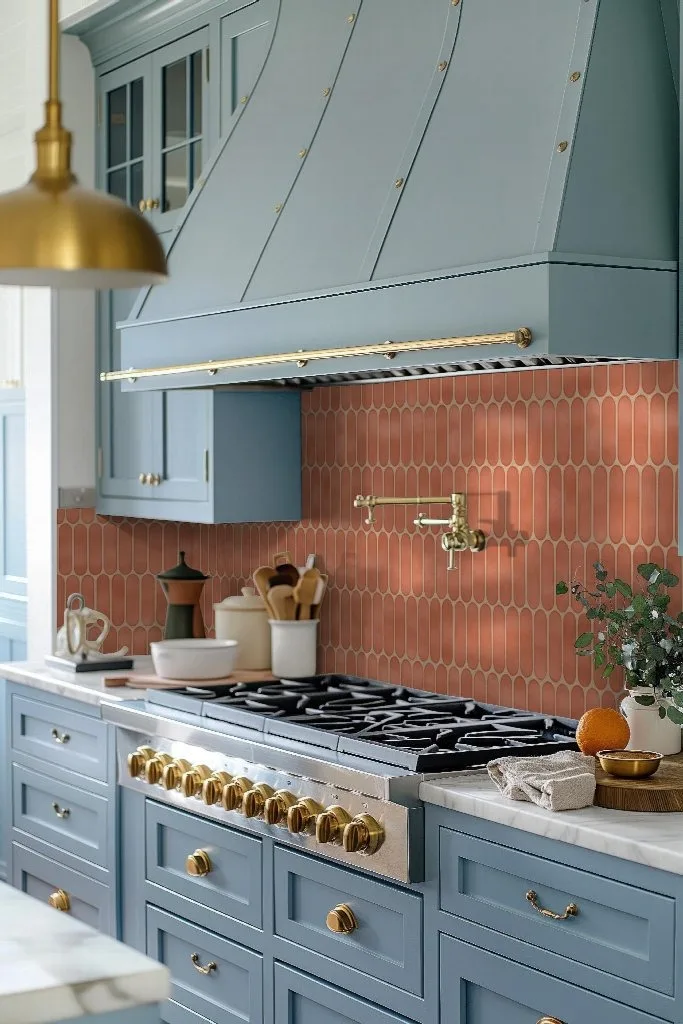
One of the more pleasurable aspects of a renovation is shopping for tiles for a new space. Natural stone, mosaics, glass and porcelain come in almost any size, style and color imaginable and the right choice can transform an ordinary room into a showpiece.
The problem many homeowners face is what happens at the edge — where tile meets a wall, doorway or other surface. That transition is important for both a clean install and the way the finished product looks. Many tile lines still come with a matching bullnose piece, but some of the newer options, especially the popular wood-grain porcelain looks, don’t yet have a bullnose available. That’s not a reason to rule out a tile, though—there are still lots of trim and trim-free ways to finish the edge cleanly.
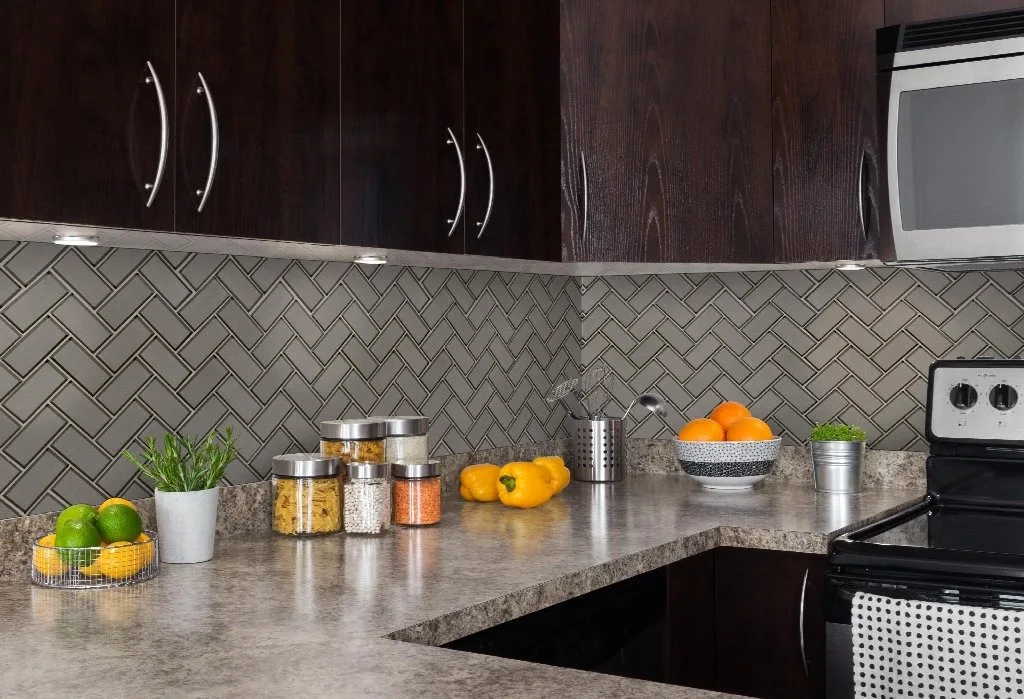
There’s more than one way to make that transition to a wall, ceiling, or adjoining surface look intentional, whether or not trim is part of the plan. Herringbone layouts, subway tile, or anything in between — here are five reliable approaches.
5 Ways to Finish Tile Edges
Method 1 — Seal the Edge With Caulk
Of all the options on this list, caulking the edge is the easiest and cheapest, and it works particularly well for tumbled stone, mosaic edges, geometric patterns, and some porcelain tiles. The first step is checking the tile itself: look at it from the side and see whether the edge looks raw or finished. If it looks finished once installed and grouted, a thin bead of caulk along that edge gives a clean, watertight seal. If the edge looks raw, one of the other methods below is a better fit.
For the best result, choose a caulk that matches the grout color — most major grout brands sell a matching caulk specifically for this. Grout isn’t a substitute here, since it’s rigid and not built to flex at a movement joint, which is why caulk is the better choice at transitions. It’s the go-to no-trim option anywhere tile meets painted drywall, cabinetry, or a countertop, and it shows up constantly at kitchen backsplash edges for that reason.
Caulk performs best on glass tile, tumbled stone, mosaic sheets, and matte-finish ceramic. It’s not the right call for a raw tile edge with visible cut lines, or anywhere the edge will see frequent physical contact. Because caulk stays flexible where grout doesn’t, it’s worth using at any tile-to-material transition — a well-matched color will simply absorb small movement over time instead of cracking.
Method 2 — Rail Moldings (Bullnose and Pencil Trim)
Rail moldings are the classic trim option, and they’re generally easy to find for natural stone and porcelain lines. These slim, finished pieces transition smoothly between two tile types, or from tile straight to drywall, giving a project a clean, deliberate edge. If the tile chosen doesn’t have a matching molding, a similar or contrasting one can work just as well — sometimes even better, since it adds a bit of visual interest.
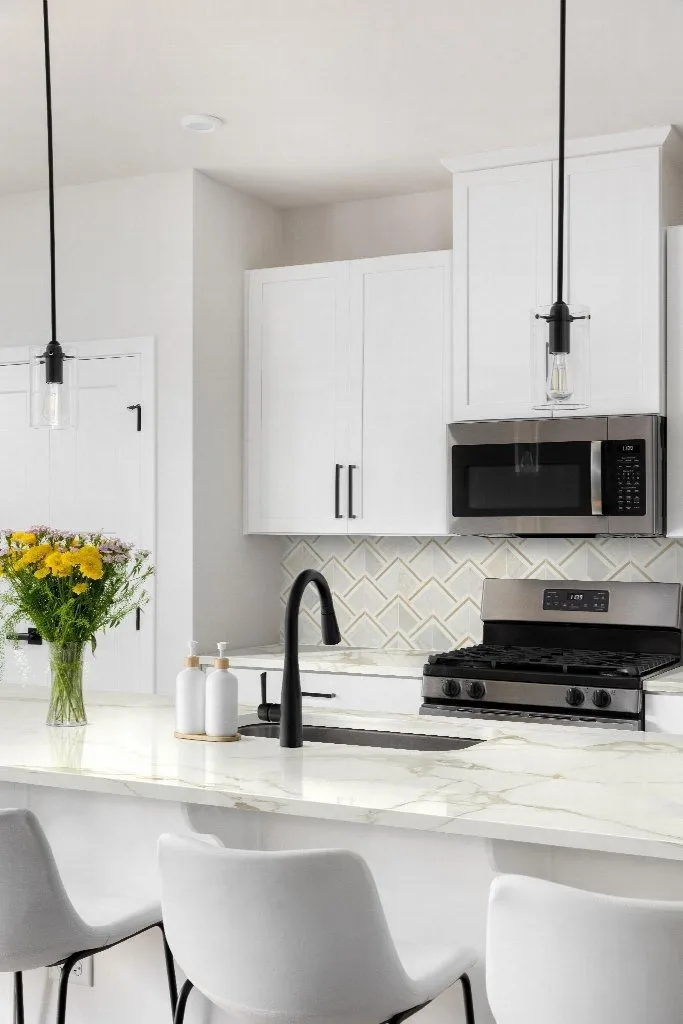
There are two fundamental types. Bullnose has a rounded profile and is the standard choice for the top edge of a wall installation or a wainscot cap. Pencil trim is a thin, decorative strip used to border a backsplash. Both are installed the same way as the field tile surrounding them — in thinset mortar with the same grout and tools — making this one of the more approachable trim options for a DIYer.
Rail moldings are great for dressing the edge of a tile countertop, shower wall tops, wainscot caps, and the outside edge of a backsplash and will work with most ceramic, porcelain, and natural stone lines. If the field tile is stone, a natural stone pencil molding is worth considering, or check whatever trim collection matches the tile line chosen for coordinating options.
Method 3 — Metal Edge Profiles
Metal edge trim comes in numerous profiles and finishes and can be used indoors or outdoors, making it a smart choice for showers, stairs, floors, and accent walls where a clean, modern transition is desired. It is increasingly selected as a material in its own right—homeowners will often select a metal tone to coordinate with a faucet or showerhead, so a polished chrome edge will often be paired with polished chrome fixtures for a cohesive look.
These are sometimes referred to as Schluter-style profiles and serve as a transition strip where tile meets another surface. They are most often found in brushed nickel, oil-rubbed bronze, matte black, polished chrome and brass finishes. One installation detail matters more than most people expect: the metal profile goes in before the last row of tile, not after — the flat leg needs to sink into the thinset mortar under the tile’s edge, and setting it too late is one of the most common DIY mistakes.
Metal profiles are a good choice for shower floor edges, floor-to-wall transitions and doorway terminations. For stairs specifically, a metal stair-nosing profile is the most common long-term solution. They work with virtually any tile type, but are especially helpful for porcelain, ceramic and large-format tile that rarely comes with a matching bullnose. If you want the trim itself to echo a metallic tile finish, a metal tile range gives more options to coordinate.
Method 4 — Creating a Custom Bullnose Edge
For a fully integrated, seamless look on porcelain or natural stone that doesn’t come with a matching bullnose, it’s possible to create one from the same tile — though this is the most demanding option on the list. This only works with natural stone and certain porcelain tiles that are solid in color and material all the way through. The edge gets rounded by grinding, sanding, and polishing it before installation, and if it’s a DIY project, practicing on scrap material first makes a real difference in the outcome.
You will need a wet saw with a tilting blade, a diamond hand pad or angle grinder with a diamond wheel, a rubbing stone for smoothing the surface and the usual safety equipment. This method is most effective on solid-body porcelain and natural stone such as marble, travertine, limestone and granite, where the color runs through the material. It’s not recommended for glazed ceramic or glass tile, since cutting through the glaze exposes the unglazed body underneath and creates a visible color mismatch.
If you’d rather skip the grinding altogether, a pre-made bullnose piece in a matching or complementary material — something like a coordinating bullnose tile — gets the same finished look with far less effort.
Method 5 — Mitered Edge or Tile Return
The last option terminates the edge with the field tile itself, cut and set such that no separate trim is required.
A mitered edge is the cleanest way to finish an outside corner. No trim piece is involved — two tiles are cut at complementary 45-degree angles and meet at the corner, so the finished look reads as though the tile wraps the corner in one continuous piece. It’s a strong choice for outside wall corners, shower niches, fireplace surrounds, kitchen islands, and other high-visibility architectural details. It does call for a professional-quality wet saw with a tilting blade, precise measurements, and a dry fit before anything is set permanently — this is best left to an experienced installer rather than attempted as a first DIY project, and it isn’t recommended for handmade zellige tile with significant thickness variation.
A tile return works differently: the same field tile is cut straight and turned 90 degrees so the tiled surface wraps around the edge. It’s a good fit for the edges of open shelving, window surrounds, half-walls, and niche entries — essentially anywhere the edge stays visible but doesn’t meet another tiled surface. It’s more economical and easier to execute than a mitered edge, and it can often be cut from tile left over from the rest of the installation. The one requirement is a precise fit against the face tile, so a dry fit before setting is worth the extra step.
You don’t need a separate trim product for either method. If trim isn’t available and custom cutting isn’t practical, a range of pencil moldings and bullnose tile built to match popular collections remains a solid ready-made alternative.
Finishing Tile Edges Without Trim
A lot of today’s tile — especially large-format porcelain, zellige, and designer mosaics — simply doesn’t come with a matching bullnose. That’s what sends homeowners looking for a no-bullnose solution in the first place, and at this point, a no-trim finish isn’t a workaround so much as the professional standard for these tile types.
• Caulk the edge — easiest and cheapest; good for low-contact transitions like backsplash to drywall or cabinetry; select a grout-matching color.
• Mitered edge—most polished option; 45-degree cut makes a continuous corner; professional installation is recommended; well suited to niches, feature walls and outdoor corners.
• Tile return – Uses leftover field tile wrapped around the edge; good fit for window openings and niches; intermediate skill level.
Another choice is a polished or sanded raw edge: cut the tile and then smooth the raw edge with a diamond hand pad. This works particularly well on artisan and handcrafted tile where a raw edge is part of the design, not to be hidden.
Where tile is available with trim, rail moldings, metal profiles and cove base at floor to wall transitions are the most durable options for wet areas and other high contact surfaces.
Which Tile Edge Method Fits Your Surface?
The right finishing method really comes down to where the tile is going. A quick breakdown by application:
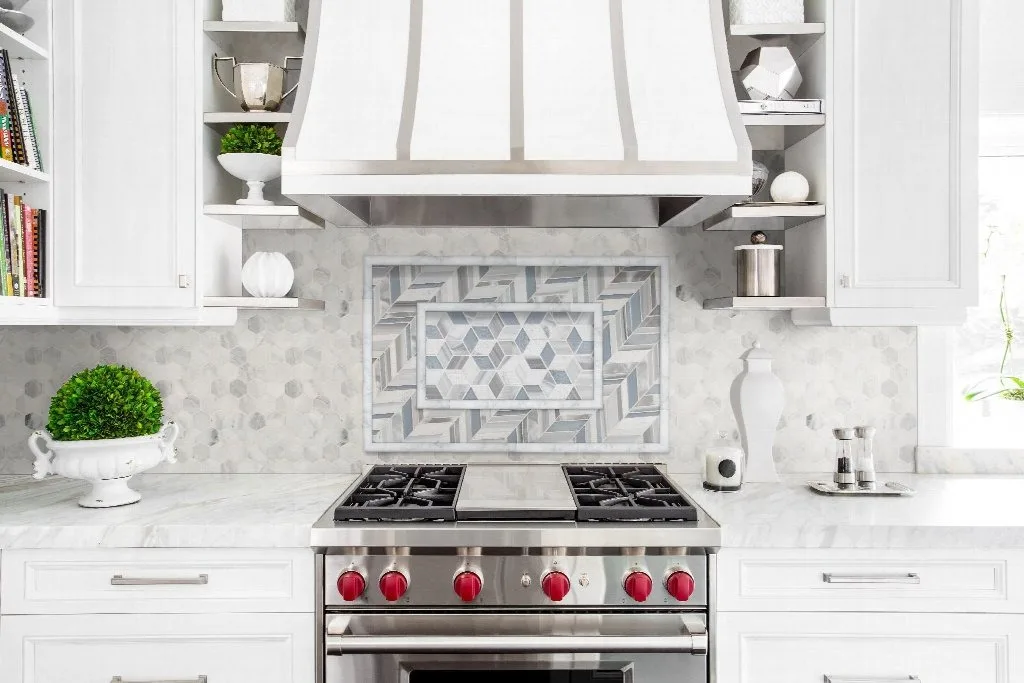
• Kitchen backsplash edges: For a clean end at the wall edge, use rail molding (pencil trim); for an open wall or under-cabinet space, use caulk; for a continuous look that eliminates the need for additional trim, use tile returns.
• Shower walls and niches: metal edge profiles for their corrosion-resistant finish in damp areas, mitered edges for outside corners and niches, and no wood trim of any kind in a wet environment.
• Bathroom or kitchen countertop edges: a V-cap tile or bullnose rail molding for a functional drip edge; a metal profile for a simple modern look; or custom bullnose grinding for stone countertops.
• Floor tile doorway transitions: At high-traffic termination points, a metal edge profile offers the most durable protection and helps prevent chipping along the exposed edge.
• Accent walls and wainscoting: rail molding at chair-rail height for a traditional look, a metal profile for something more contemporary, or caulk for informal, low-visibility edges.
Most surfaces and tile types are covered by the full spectrum of tile trim, from pencil moldings in natural stone to ceramic bullnose in matching sizes, to decorative moldings across multiple collections, so there’s generally a workable option no matter what’s already been chosen for the field tile.
Whatever the project, the details make the difference: even grout lines, correctly applied grout, and a truly seamless transition from tile to wall, ceiling, or adjoining surface. If the tile you already selected doesn’t have a matching bullnose, you don’t have to start over — one of the five methods above will get the job done.
Frequently Asked Questions
How do you finish tile edges after tiling?
Run a bead of color-matched caulk along any exposed edge where tile meets another surface — this works best when the tile’s factory edge is already smooth and finished. Rail moldings and metal profiles can often be added after the fact too, though metal profiles ideally go in before the final row of tile is set.
How do you make tile edges look nice?
The cleanest results come from rail moldings — bullnose or pencil trim — that coordinate or intentionally contrast with the field tile, or a mitered edge where two tiles meet at a smooth 45-degree corner. In the no-trim application, a well color-matched caulk is practically invisible. The real key is to make a decision on the edge treatment before the installation begins, not after.
How do you finish tile edges without trim?
Three approaches skip trim entirely: caulk for low-contact transitions like a backsplash meeting drywall, a mitered edge (a 45-degree cut for outside corners and niches, best left to a professional installer), and a tile return, which wraps field tile around the edge for window surrounds and open niches. A fourth option for artisan tile, where a raw edge fits the design, is a polished raw edge smoothed with a diamond hand pad after cutting.
What do you put on the edges of tiles?
The most common options are bullnose or pencil trim (a matching tile piece with a finished edge), a metal edge profile (a Schluter-style strip in various finishes), or color-matched caulk. Without matching trim, a mitered edge or tile return can create a finished corner using the field tile itself, with no additional product required. The right choice depends on the tile type, where it sits on the surface, and how much contact that edge will see.
What is the best way to finish tile edges?
There isn’t a single best approach — it depends on the tile, the budget, and the surface involved. Rail molding or caulk is generally the quickest and least expensive option. A mitered edge takes longer to install, but delivers a truly seamless, high-end finish. For retrofitting an existing installation, caulk and rail moldings are usually the quickest options to add after the fact.
Need help selecting the proper edge treatment for your tile project or want to know where to purchase floor or wall tile in your area? Your best bet would be to go see your local showroom or authorized MSI dealer.